By Category
Blog Categories
DSD-201 Water Filter Replacement?
Ever wondered how to replace a water filter in the DSD-201? Well let's go over some of the basics so you have an idea of what it will take. However, please refer to your Medivators' manual for the latest specific installation instructions.
First, you'll need a filter wrench. These wrenches are typically supplied with the DSD-201. If you don't already have one, depending on the exact water filter you're replacing consider purchasing our low-profile filter wrench here on the MedService Repair web site.
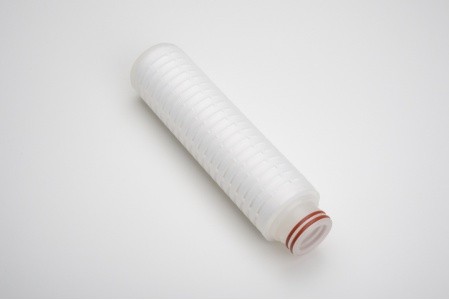
There's two parts required for this AER maintenance task. You'll need the water filter itself and an accessory tube. The manufacturer's part number for the filter cartridge replacement is MF01-0013 and the Accessory Tube MFG ID is DSD-1064. You can look up any MFG IDs directly on our web site and typically be taken to the specific parts you're needing.
Medivators, the manufacturer, cautions that "The internal water filter must be high-level disinfected or sterilized with high-level disinfectant before use." Also, verify that effective disinfectant/sterilant is in the A&B reservoirs.
Medivators offers an exact step by step instruction sequence with pictures to replace the DSD-201 AER filter. So again it's imperative that you refer to the Medivators specific instructions to make sure you're doing this correctly as this article is NOT intended to be a step by step guide to correctly replacing your DSD-201 AER Filter.
After Making sure that the DSD-201 is not in use and is completely idle, you'll connect the restrictors to the A & B basin. The floating lids should be placed onto the endoscope basins and then close the station covers.
The water supply valve then can be closed. (This is the external water supply valve.) Next you're able to disconnect the main water inlet tube disconnect. Once disconnected, you'll connect the accessory hose to the water inlet tube. Then open the filter bleeder valve to drain the water out of the filter canister.
Medivators recommends removing the detergent and/or alcohol reservoirs to create more room. Don't be surprised when low reservoir alarm is tripped when you do this. It will reset when you reattach them.
Now you can remove the internal water filter canister with the filter wrench. You'll turn it ½ inch counterclockwise to unlock the filter. Then pull the filter downwards to release it.
Next, install the new filter into the housing by pushing it upwards into the canister cap. Then turn the filter clockwise until the filter locks into place. When you think it's correctly installed, check it by pulling down on the filter cartridge to make sure it was connected properly. Wipe the canister clean but do not remove the lubricant from the housing O-ring.
Making sure that the O-ring is in place re-attach the filter canister. The canister should only be hand-tightened without using the filter wrench.
Now reconnect the main water inlet tube ensuring that the filter bleeder vale is in the "closed position".
Make sure that the 'B' station reservoir is full of disinfectant and select station B on the control panel. Press "setup", #6 and the "enter". The screen prompt should read "auto line dis".
Press "start" and the screen should read "attach restrictors" for both A and B basins.
Then press "Start". If a "no flow" error is displayed, press "start" to proceed. This may happen multiple times.
After the disinfectant visibly is entering the A&B basins then you can turn on the main water supply and you may allow the water-line disinfect cycle to finish.
Take a look at the "B" station disinfectant reservoir to make sure it's full and that's it!
As shared, do not rely on this article as specific instructions but we hope we've given you a rough idea of most of the steps that are involved.